How to adapt channels
## 1. Initial Setup
- Switch on the system and install your slides
- Open Zen
- Click Zen slidescan
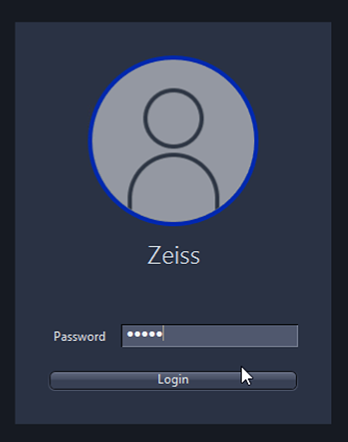
- Log in on Zeiss (password: zeiss)
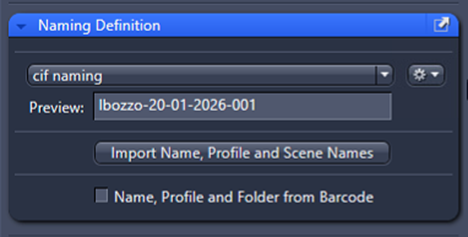
- Choose your way to define naming automatic or manual
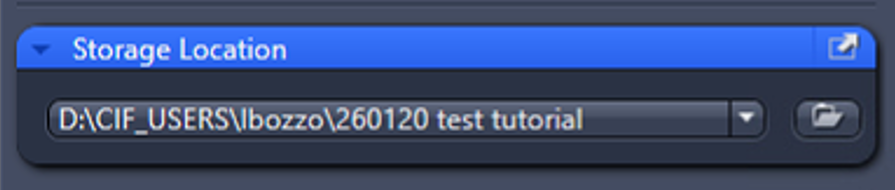
- Define Storage Location
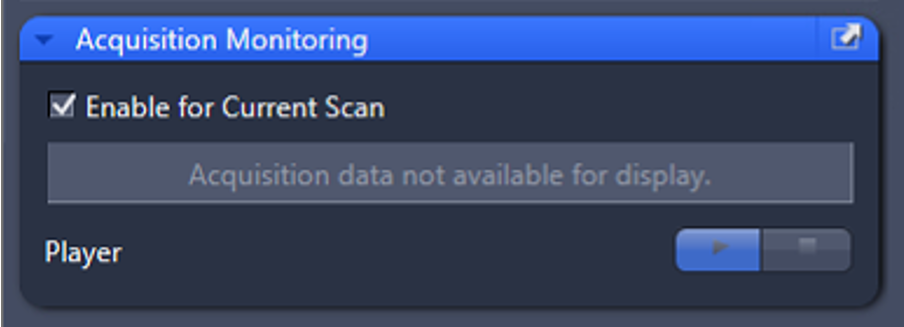
- (Optional) Activate Acquisition Monitoring (display images while acquiring)
- Select the scan profile that you would like to modifiy

## 2. Open and adapt the Scan Profile
- Go the slide you want to use and on the right panel, click the ⚙️ (gear icon) of the scan profile
- Click “Adapt selected profile for scan on this slide”
## 3. Scan Profile Editor Overview
- Click on Next > you reach 2 Label
- Click on Next > you reach 3 Preview
- Click on Next > you reach 4 Sample Detection Settings
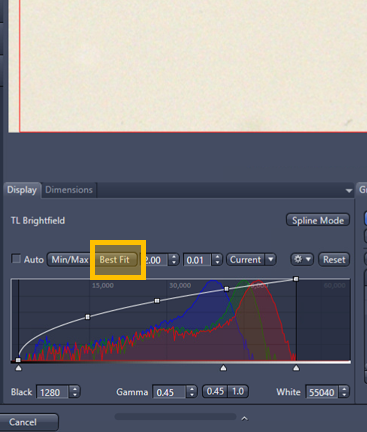
## 4. Sample Detection Settings
- Click Best Fit to automatically highlight your sample
- (Optional) Adjust the display range manually if needed
- Click on Next > you reach 5 Coarse Focus Map

## 5. Coarse Focus Map
- In the Navigation window click on a point of interest
- Click Find Focus
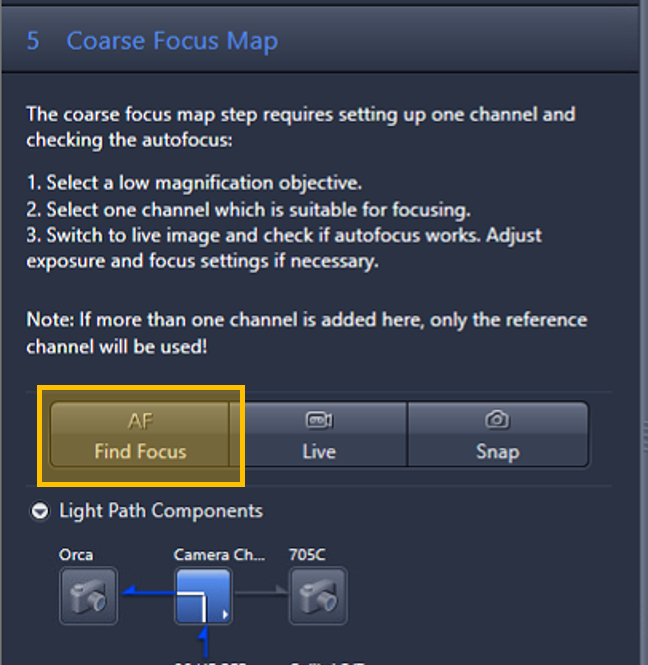
- (Optional) Click Snap
- (Optional) Click Min/Max
- Click on Next > you reach 6 Fine Focus Map

## 6. Fine Focus Map
- Click Find Focus
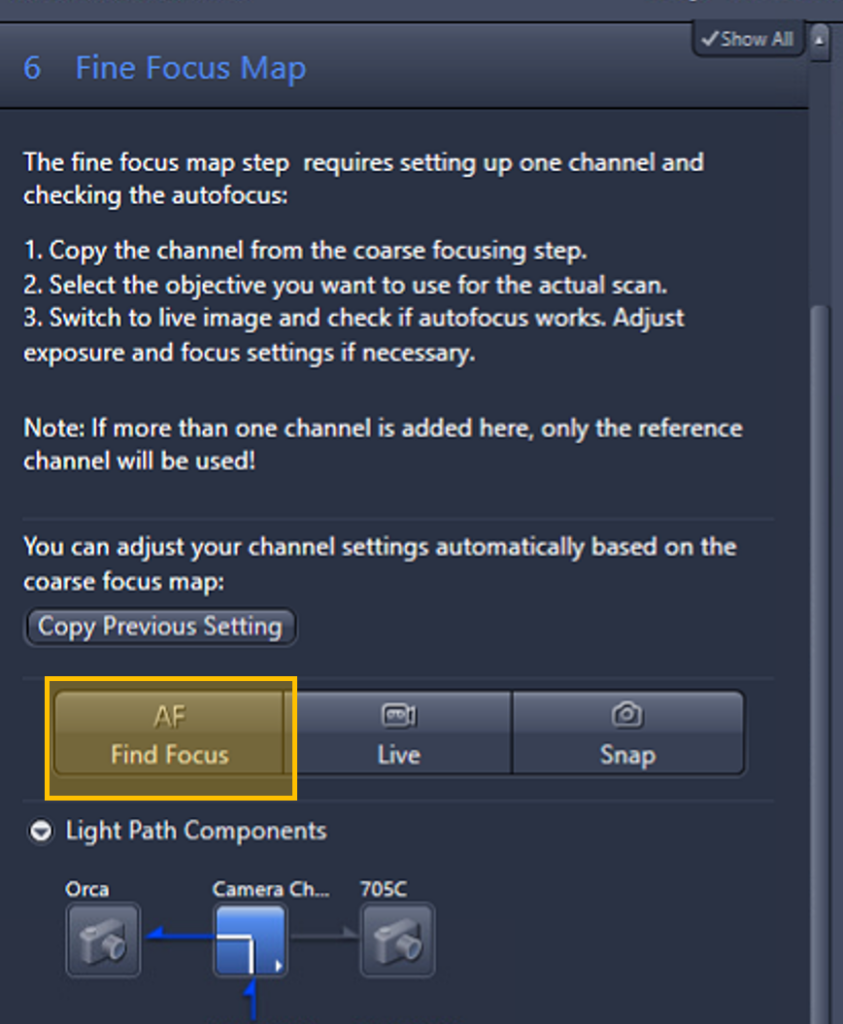
- (Optional) Click Snap (same as with Coarse focus map)
- (Optional) Click Min/Max (same as with Coarse focus map)
- Click on Next > you reach 7 Scan

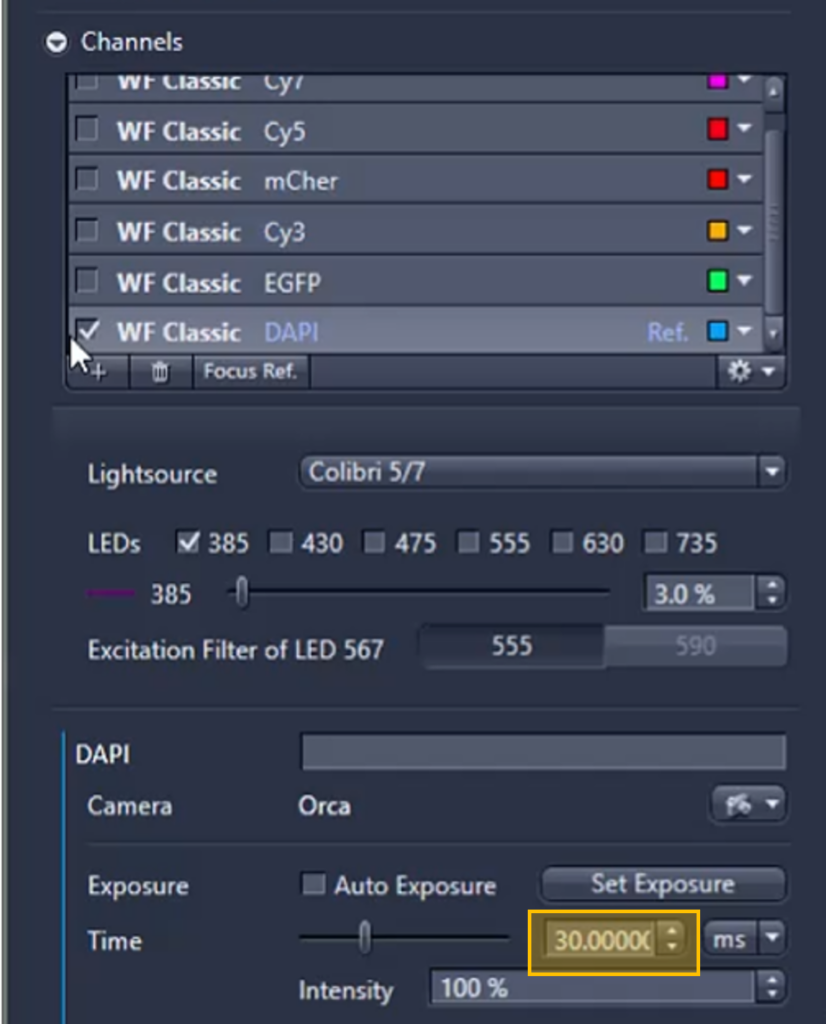
## 7. Live Focus and Navigation
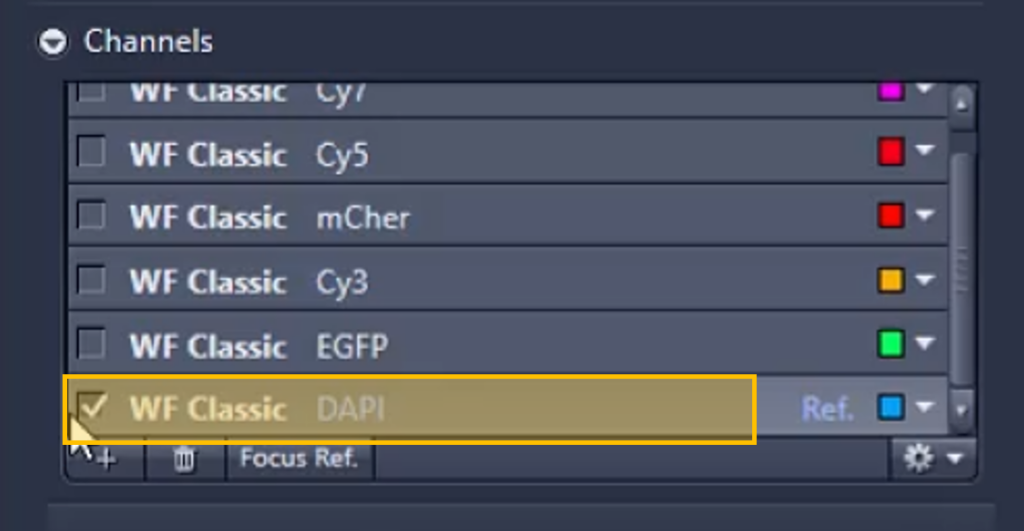
- Deactivate all channels except DAPI
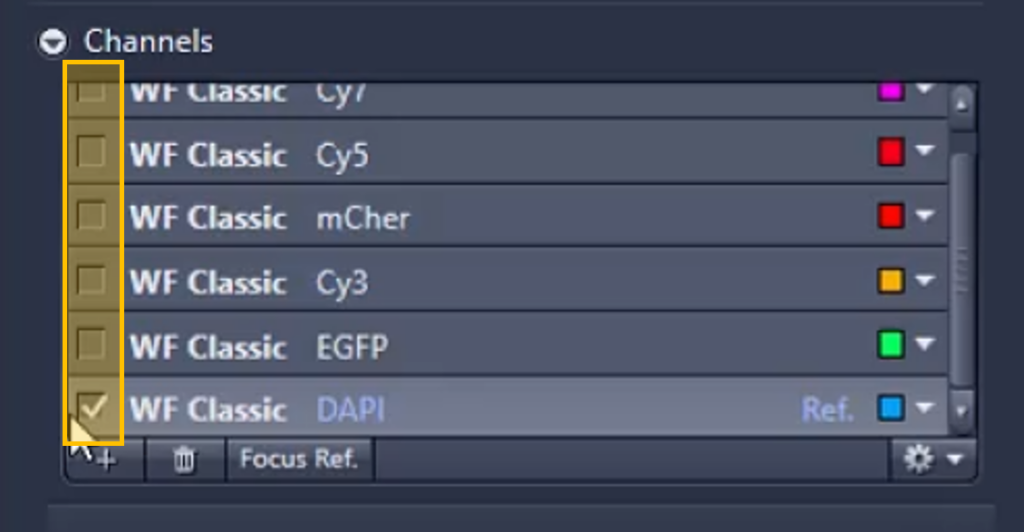
- Select the DAPI channel (row becomes light gray)
- Click Live
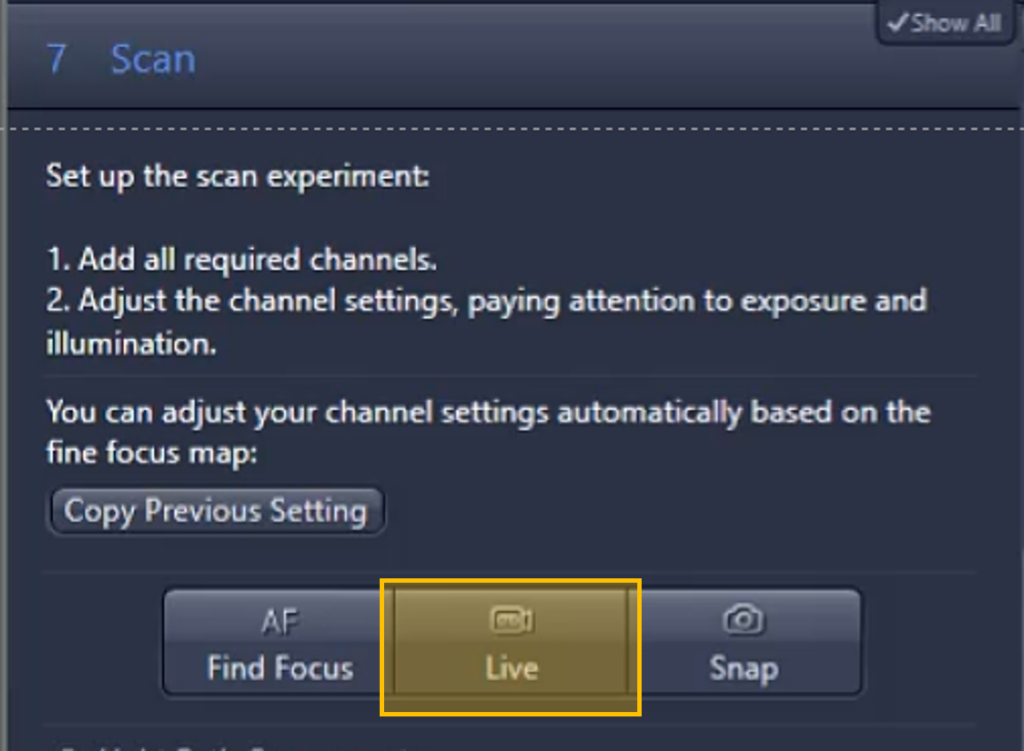
In Live mode:
- Click Min/Max to adjust display
- Use CTRL + mouse wheel to adjust focus
To move across the sample:
- Double-click on the image (moves to center)
- Click the blue bar at the edge of the image
- Double-click in the Navigation window
## 8. Adjust Channel Settings
For each channel:
- Activate only the channel you want to modify
- Select it (light gray)
Check intensity:
- Click Snap
- Click Min/Max
- Check the White value (maximum pixel intensity)
Adjust intensity using:
- Light source power
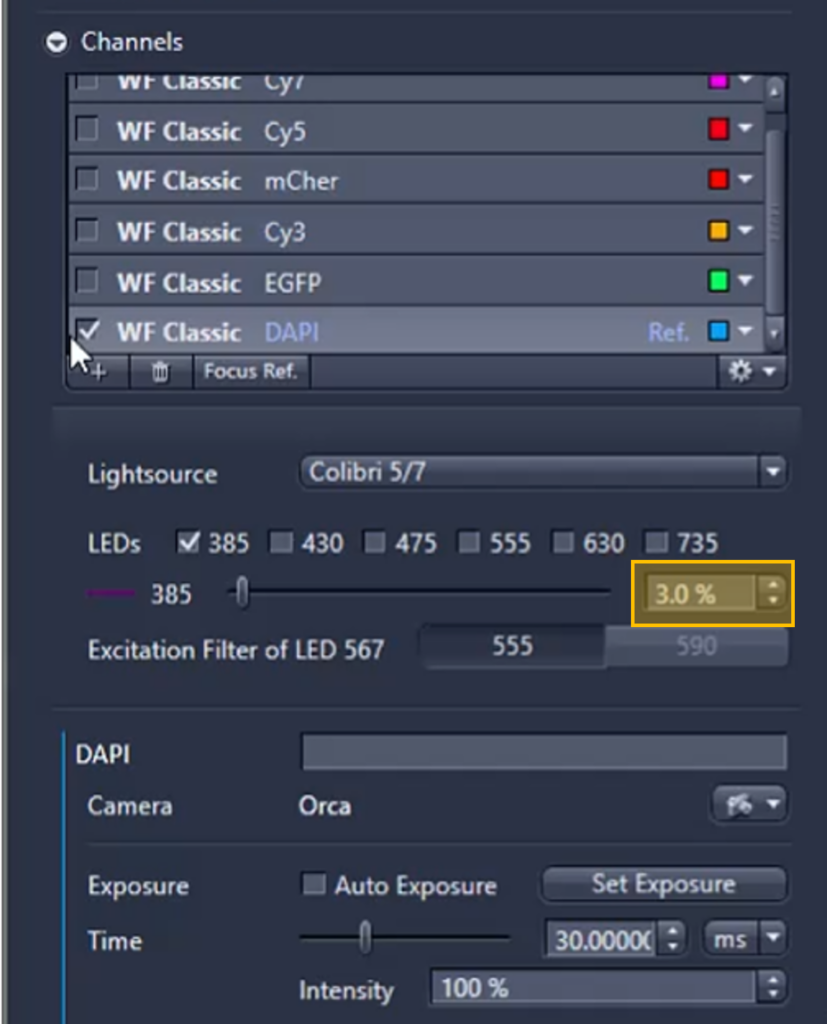
- Exposure time
Repeat for all channels.
## 9. Finalize Channel Setup
- Reactivate all desired channels
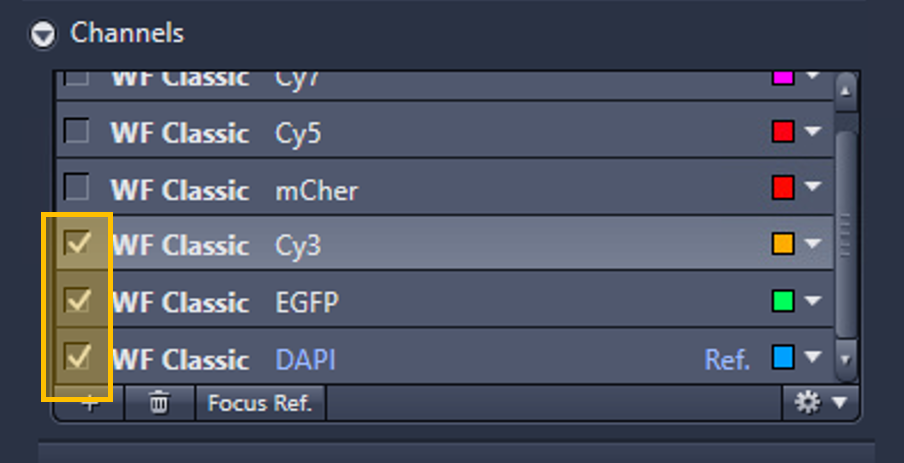
- Click Finish

## 10. Save and Manage the Profile
After returning to the main window, the profile name will include a prefix
(e.g. T1S1-, where T = tray, S = slide)
➤ Modified Profile Acquisition
- The modified profile is applied only to this slide
- No need to save or rename
➤ Create a New Profile
- Rename and save as a new profile
- Select it later from the dropdown menu
Note: New profiles appear at the bottom until the software is refreshed
➤ Modify the Original Profile
- Remove the prefix (e.g. T1S1-)
- Click Save and confirm overwrite
Effect:
All slides using this profile will be updated